
The scarf may also be referred to as a Neckerchief or Necker
You should take good care of your group scarf, making sure it is always neat and tidy. It shows everybody to which group you belong and, if you look after it, you will be able to wear it when you are a Cub, Scout and Explorer Scout too. Here is how to fold your group scarf neatly:
Iron the scarf so that there are no major creases, because of the nature of the material some small creases may remain.
Please get an adult to help you iron your scarf.
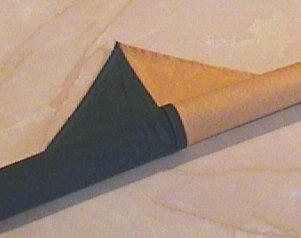
After the scarf is ironed, position it as per below:
Lay your scarf flat on a clean surface.
There are two ways to ‘fold’ your scarf: you can either roll the scarf or actually fold it.
The one to choose is simply personal preference!
To roll the scarf:
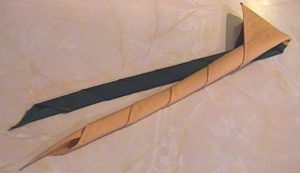
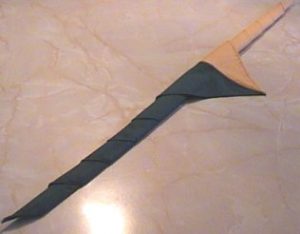
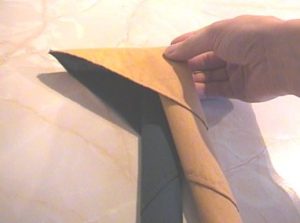
Roll the scarf tightly from the centre smoothing out the ends as you go.
Try to ensure that the scarf remains the same tightness from the middle to the end.
It is quite easy to leave one of the ends behind! Try to maintain the consistency.
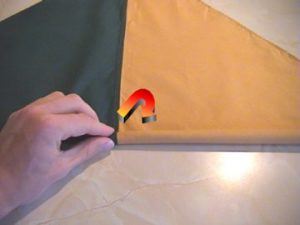
Smoothing the scarf
Continue rolling until the point of the scarf is about as long as your hand span.
You will find that the scarf is quite bulky if rolled, so it is best to then iron the scarf flat.

To fold the scarf
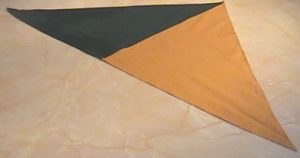
Fold the scarf over at 1cm intervals.
Try to keep this consistent or else one end may end up bigger than the other.
The first two folds may be quite difficult to align but after this it should almost fall into place.
To really keep the scarf looking smart, you may want to iron the scarf every few folds.
Keep folding until the scarf is about as long as your hand span.
Finishing
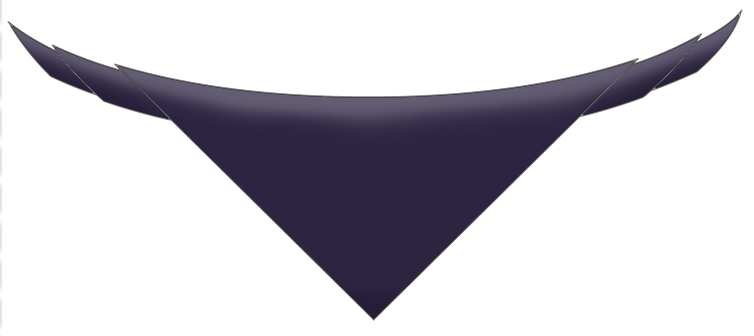
For both methods, you should now pinch the centre of the scarf and smooth the scarf as shown below.
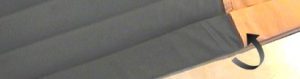
The folding of the scarf has now been completed.